
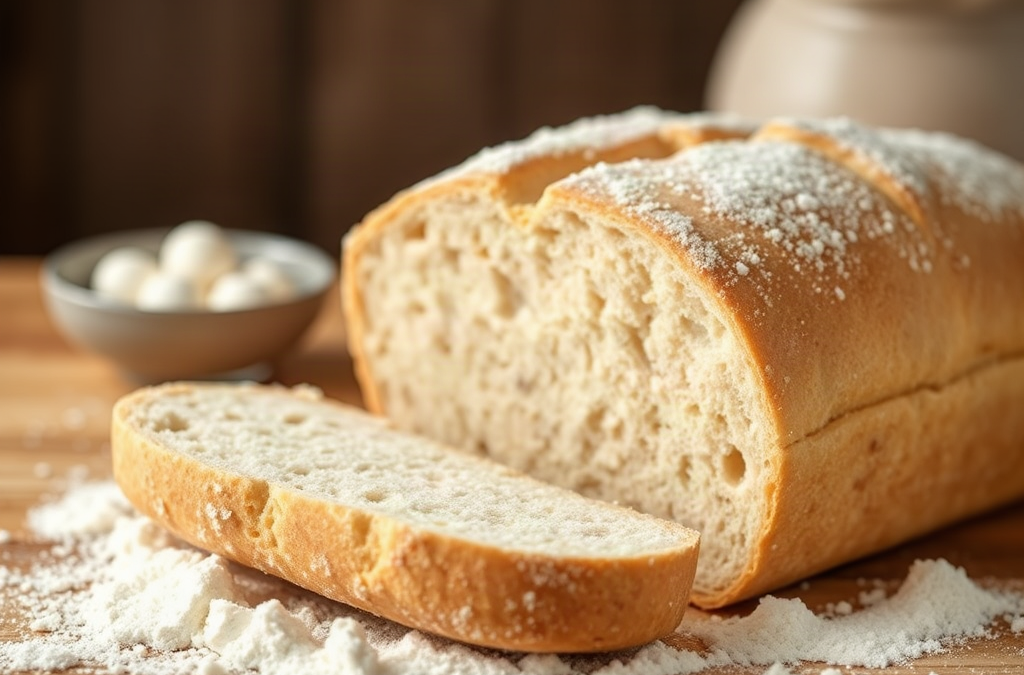
Organic bread flour can produce better homemade loaves when its protein strength, hydration, fermentation, and mixing are matched to the recipe. The flour’s gluten-forming proteins help dough retain carbon dioxide, while adequate water allows bran-free wheat particles to hydrate and the crumb to develop. Weigh the flour and water, mix until the dough gains strength, allow enough fermentation for expansion, and bake in a fully heated oven. Organic certification describes farming and processing standards, not a guaranteed loaf texture, so freshness, protein content, storage, and technique still matter.
What Bread Flour Changes In Homemade Dough
Bread flour is milled for doughs that need strength, stretch, and gas retention. Compared with many all-purpose flours, it commonly has more gluten-forming protein, although the exact performance varies by wheat blend, mill, and brand. When water is added and the dough is mixed, two wheat proteins join into gluten. That network gives yeast-produced carbon dioxide somewhere to collect, which affects loaf height, crumb openness, and chew.
Organic bread flour is not automatically stronger than conventional bread flour. The organic label concerns how agricultural ingredients are produced and handled under the applicable certification system; it does not promise a particular protein percentage, milling date, flavor, or baking result. A certified organic flour with moderate protein may make a softer loaf than a nonorganic flour designed for very high-volume bread. Readers comparing bags should treat certification and baking performance as separate decisions. The organic flour choice matters to some households, while protein level and freshness determine more of the dough’s behavior.

A practical comparison makes the distinction clear. A rustic loaf with a moist crumb and crisp crust benefits from dough that can hold substantial water and fermentation gases. A pullman-style sandwich loaf may need enough strength to rise evenly but not so much that the slices become rubbery. Using a strong flour in every recipe can create a dense, tight dough if the formula lacks enough water or if the dough is mixed aggressively. Conversely, using a weaker flour for a wet, long-fermented loaf may lead to spreading rather than lift.
Look for a flour intended for yeast breads, then evaluate the protein information if the package provides it. Protein is a useful clue, not a complete prediction: absorption, ash content, milling method, and wheat variety also influence handling. Start by reserving a small portion of the recipe’s water. Add it gradually if the dough feels unusually slack, or add a little more during mixing if the flour remains dry and tears instead of stretching.
How To Choose And Store Organic Bread Flour
The best bag is the one whose strength and freshness fit the loaf you actually bake. For chewy boules, pizza-style dough, and lean hearth breads, choose a bread flour with enough strength to support longer fermentation and higher hydration. For enriched rolls or everyday sandwich bread, a moderate-strength flour may produce a more tender bite. A flour marketed as “artisan” is not necessarily better for every formula; the useful question is whether it behaves predictably in your preferred dough.
Check the package for the organic certification statement, ingredient list, net weight, and any protein or intended-use information. Flour should contain no unexplained flavoring or unnecessary additive for a basic loaf. A recent milling or best-by date can be helpful, but date labels are not a direct measure of baking strength. Buy an amount you can use while it still smells clean and wheaty. A stale, musty, or rancid odor is a reason to discard the flour rather than compensate with extra yeast.
Storage affects consistency. Keep flour sealed in a cool, dry cupboard away from heat, steam, strong odors, and pantry pests. A tight container is more reliable than an opened paper sack folded loosely. Refrigeration or freezing can extend storage for larger quantities, but the flour should be sealed against moisture and allowed to return to room temperature before measuring and mixing. Condensation introduced into a cold container can create clumps and uneven hydration.
Do not assume that “organic” means the flour is safer to taste raw. Unbaked flour is a raw agricultural ingredient, and dough should not be sampled before baking. The oven’s heat is part of the food-safety process. For shoppers balancing price and waste, a smaller bag may be the sensible choice if bread baking is occasional. Frequent bakers may save money with a larger package, provided storage remains dry and the flour is used before quality declines. A related loaf-planning decision is whether a single versatile flour or separate bread and pastry flours will reduce substitutions and failed batches.
Hydration, Mixing, And Fermentation Decisions
Water quantity determines how the flour feels as much as the flour itself. Strong bread flour often absorbs more water, but a recipe written for another brand may still produce a sticky dough. Weigh both flour and water whenever possible; volume measurements can shift enough to change the dough from workable to stiff. Begin with the recipe’s stated hydration, mix thoroughly, and judge the dough after a short rest rather than immediately adding extra flour.
A brief rest after combining flour and water can give the particles time to hydrate before salt and yeast are fully incorporated, depending on the recipe. The dough should become less ragged as it rests and folds. Kneading or folding develops structure, but more handling is not always better. Excessive mixing can warm the dough and make it difficult to manage, while insufficient development leaves it weak and unable to hold its shape. A useful sign of progress is dough that stretches several inches before tearing and can be shaped without instantly puddling.
Fermentation is another major control point. Yeast activity depends on dough temperature, yeast quantity, hydration, and time. A clock-based recipe may finish early in a warm kitchen or need longer in a cool one. Judge the dough by expansion, surface tension, bubbles, and how it responds to a gentle press. If it barely expands, the dough may be too cool, the yeast may be inactive, or the fermentation may simply need more time. If it collapses, smells sharply alcoholic, or feels weak and soupy, it may have fermented too far.
For a first bake with a new organic flour, change one variable at a time. Keep the recipe constant, note the flour’s protein information and the room temperature, and record whether the dough needed more water, fewer folds, or a shorter rise. Adding large amounts of flour during shaping often masks the actual problem by producing a dry crumb. If the dough spreads, strengthen it with folds and moderate the water next time; if it is dense and tears, increase hydration slightly or allow more rest before judging it. The baking notes from each batch are more useful than assuming every high-protein flour behaves identically.
Baking Steps For A Better Crust And Crumb
Oven heat converts a well-fermented dough into a loaf with structure. Preheat thoroughly, especially when using a covered Dutch oven, baking stone, or steel. A hot baking surface encourages early expansion, while steam delays crust setting so the loaf can rise before the exterior hardens. Without enough heat or steam, the crust may become firm before the interior has expanded, producing a squat loaf with limited scoring.
Shape the dough to create surface tension without tearing it. A loose shape spreads; an overly tight shape can split unpredictably. Score the top with a clean, deliberate cut that gives expanding gas a planned exit. Bake until the crust has developed the color specified by the recipe and the center is fully set. Appearance alone can mislead, particularly with darker organic flours or sweetened doughs, so allow the loaf to cool before slicing. Cutting while hot releases steam and can make a properly baked crumb seem gummy.
Steam methods involve tradeoffs. A covered pot is effective because it traps moisture, but it requires careful handling and may limit loaf size. A tray of hot water can provide steam but is less consistent and should not be used in a way that risks splashing or damaging the oven. For a thin-crusted sandwich loaf, a standard pan and controlled bake may be preferable to a heavily steamed hearth setup. The method should match the loaf rather than serve as a badge of authenticity.
Use the finished loaf as evidence for the next adjustment. A pale, thick crust may indicate insufficient heat or an underdeveloped bake. A dense line near the bottom can reflect weak fermentation, poor shaping, or too much flour during handling. Large irregular holes beside a compact crumb may point to uneven shaping rather than a flour defect. Keep the flour, formula, dough temperature, rise times, and bake settings in a simple log. That process reveals whether the organic bread flour is the limiting factor or whether hydration, fermentation, and oven setup deserve attention first.
For reliable background on organic labeling, raw flour handling, and bread-making technique, consult the USDA organic program, food-safety guidance from government agencies, and baking education from established culinary schools or flour mills. These sources can clarify certification language and safe kitchen practices without implying that organic status alone determines loaf quality.
Frequently Asked Questions
Does organic bread flour make bread healthier?
Organic certification does not automatically make bread lower in calories, higher in fiber, or nutritionally superior. The finished loaf’s nutrition depends mainly on the grain type, extraction, added ingredients, and serving size.
Can organic bread flour replace all-purpose flour?
It can replace all-purpose flour in many yeast-bread recipes, but it may absorb more water and create a chewier dough. Cakes, biscuits, and tender pastries may become firmer unless the formula is adjusted.
Why is my dough sticky after switching flour?
The new flour may absorb water differently, or the dough may be warmer or less developed. Rest it briefly, use folds, and adjust water gradually instead of adding a large amount of extra flour.
How should organic bread flour be stored?
Store it in an airtight container in a cool, dry, odor-free place. Refrigerate or freeze larger quantities only when they are tightly sealed against moisture and condensation.
Why does a loaf made with strong flour turn out dense?
Strength alone does not guarantee volume. Dense bread may result from too little water, inadequate fermentation, weak yeast, excessive handling, poor shaping, or an oven that was not fully preheated.
Conclusion
Better homemade loaves come from matching organic bread flour to the bread style and then controlling the variables that flour cannot fix. Check the intended use and protein information, protect freshness with dry storage, weigh ingredients, and adjust hydration cautiously when changing brands. Give the dough enough time to ferment, develop strength without overworking it, shape with measured tension, and bake in a thoroughly heated oven. Organic certification may reflect a meaningful purchasing priority, but it should not be treated as a guarantee of superior rise, flavor, or nutrition. Record what happens in each batch, especially dough temperature, water level, rise time, and crumb texture. Those observations will show whether the next improvement should come from the flour or from the process.
Huge Discount on the Best Certified Organic Nutrient Dense Supplement!